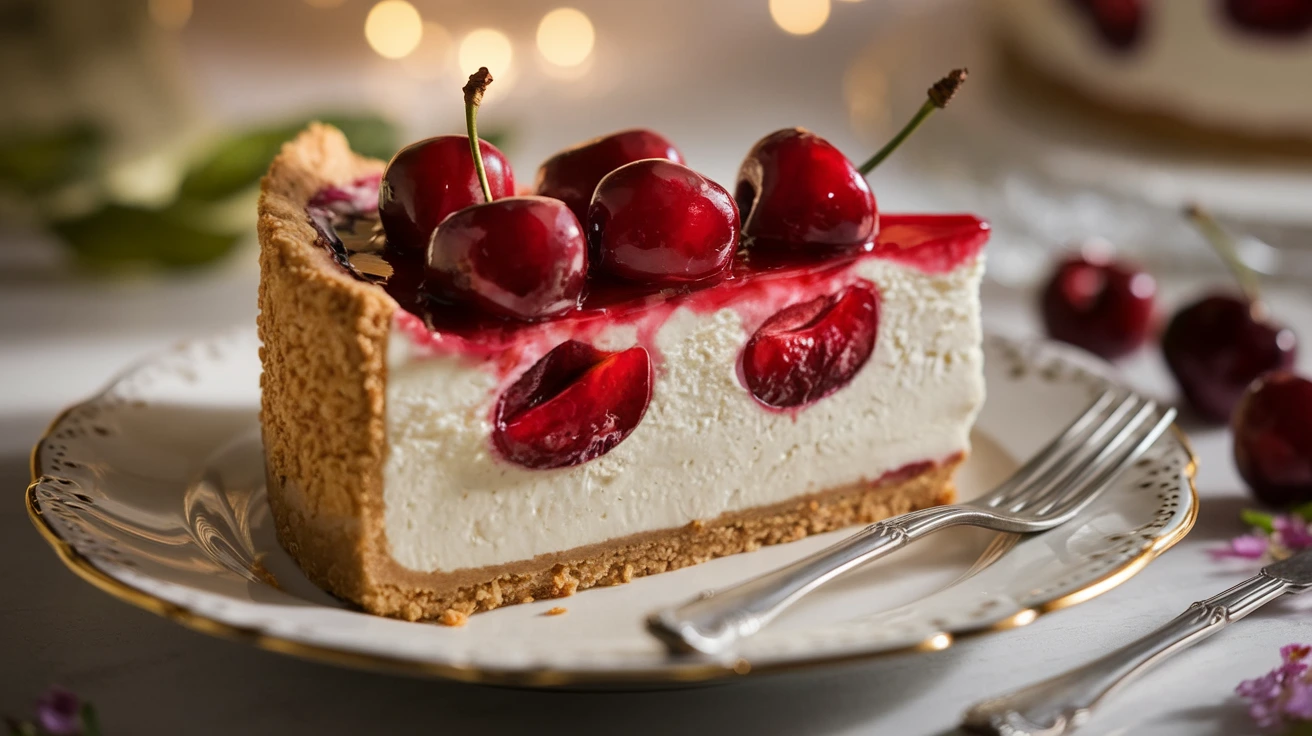
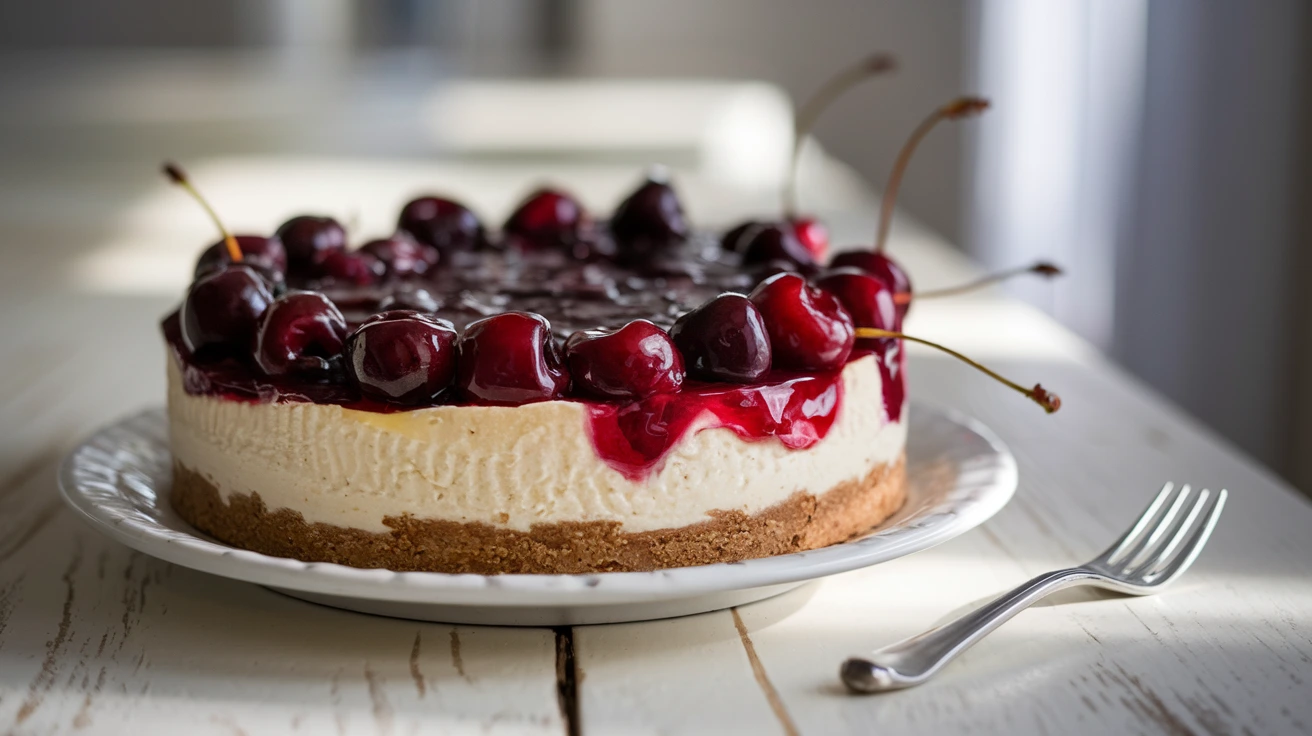
There’s nothing quite as indulgent as a slice of rich, creamy cherry cheesecake. This decadent dessert is the perfect combination of velvety cheesecake filling and sweet, tangy cherries, all resting on a buttery graham cracker crust. Whether you stick with the classic version or decide to get creative with new twists, cherry cheesecake never fails to impress at any gathering—from casual family dinners to special celebrations.
Its versatility is one of the things that makes this dessert so beloved. You can keep it simple with fresh cherries, or make it your own by adding a touch of chocolate, caramel, or even a swirl of fruit compote. Cherry cheesecake is not just for the holidays—it’s a treat that can be enjoyed year-round, bringing a little bit of sweetness and luxury to every occasion.
If you’re a fan of desserts that satisfy both your sweet tooth and your creative spirit, you’re in for a treat! Be sure to check out some other indulgent recipes on the site, like the Chocolate Chip Pancakes, perfect for a breakfast treat that feels like dessert, or our 5-Minute Gluten-Free Pancakes, a quick and easy option for those with dietary preferences.
Essential Ingredients for Cherry Cheesecake
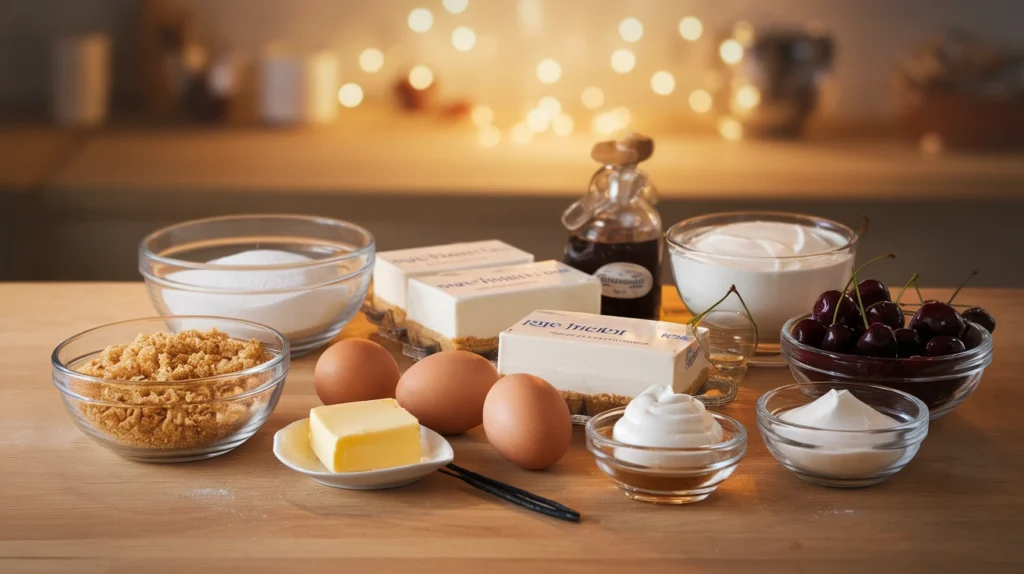
Before you start, let’s make sure you have all the ingredients. For the cheesecake crust, you’ll need graham crackers, sugar, and butter. For the filling, you’ll need cream cheese, sugar, eggs, vanilla extract, and sour cream. And of course, the star of the show—the cherry topping—requires fresh or canned cherries, sugar, and a bit of cornstarch.
Here’s a quick look at the key ingredients:
For the Crust:
- 1 1/2 cups of graham cracker crumbs
- 1/4 cup of sugar
- 1/2 cup of melted butter
The Filling:
- 3 packages (8 oz each) of cream cheese, softened
- 1 cup of sugar
- 3 large eggs
- 1 tsp vanilla extract
- 1/2 cup sour cream
The Cherry Topping:
- 2 cups of fresh or canned cherries
- 1/4 cup of sugar
- 2 tbsp cornstarch
Step-by-Step Cherry Cheesecake Recipe
Making cherry cheesecake at home is easier than it sounds! The following steps will guide you through the process.
Step 1: Prepare the Crust
Start by preheating your oven to 325°F (163°C). In a bowl, combine the graham cracker crumbs, sugar, and melted butter. Press this mixture into the bottom of a springform pan to create a compact crust. Bake the crust for 10 minutes, then remove it from the oven and set it aside to cool.
Step 2: Make the Cheesecake Filling
While the crust cools, beat the softened cream cheese and sugar in a large mixing bowl until smooth. Add the eggs one at a time, mixing well after each addition. Stir in the vanilla extract and sour cream, making sure everything is well combined. Pour the filling over the cooled crust in the springform pan.
Step 3: Bake the Cheesecake
Bake the cheesecake at 325°F (163°C) for about 55-60 minutes. The center should be set but slightly jiggly when you shake the pan. Once it’s done, turn off the oven and let the cheesecake cool in the oven for an hour with the door cracked open. This helps prevent cracks on the surface of the cheesecake.
Step 4: Chill the Cheesecake
After cooling, remove the cheesecake from the oven and let it cool completely. Refrigerate it for at least 4 hours, or overnight for the best results. This allows the flavors to fully develop and gives the cheesecake a firm texture.
Step 5: Make the Cherry Topping
While the cheesecake is chilling, prepare the cherry topping. In a saucepan, combine cherries, sugar, and cornstarch. Cook over medium heat until the mixture thickens, stirring occasionally. Once the cherries have softened and the sauce is glossy, remove the pan from heat and allow it to cool. Spread the topping over the chilled cheesecake just before serving.
The Perfect Cherry Cheesecake Crust
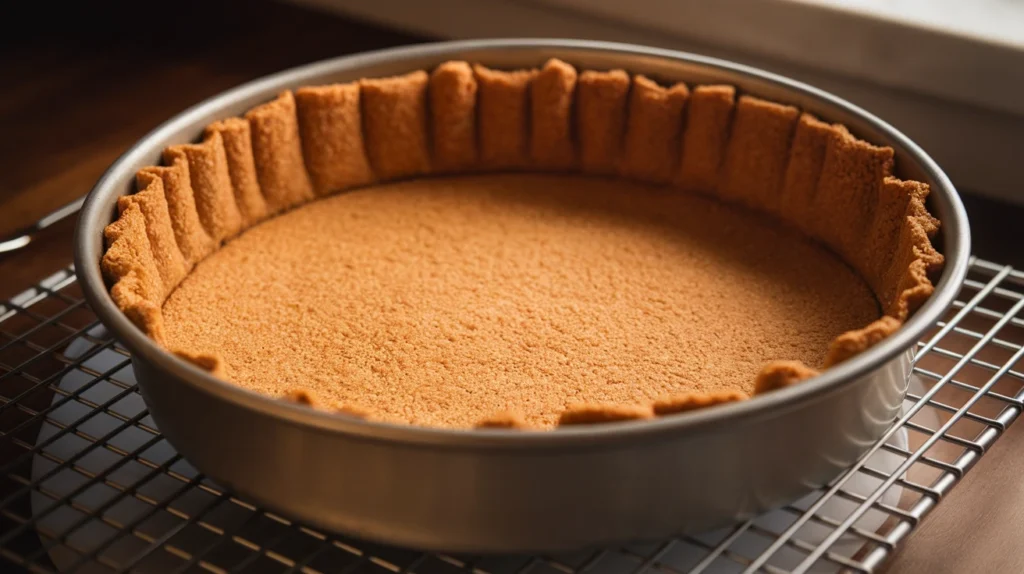
The perfect cherry cheesecake crust is a key element that sets the foundation for a delicious dessert. A graham cracker crust, with its sweet, slightly crumbly texture, is the classic choice. To achieve the ideal crust, combine graham cracker crumbs with a touch of sugar and melted butter. The butter helps bind the crumbs together, creating a firm yet tender base that holds the cheesecake filling in place. Press the mixture into the bottom of a springform pan and bake it briefly to ensure it crisps up without becoming too hard. This simple but essential step gives your cheesecake the perfect balance of crunch and flavor, complementing the creamy filling and topping perfectly.
Creating the Creamy Filling
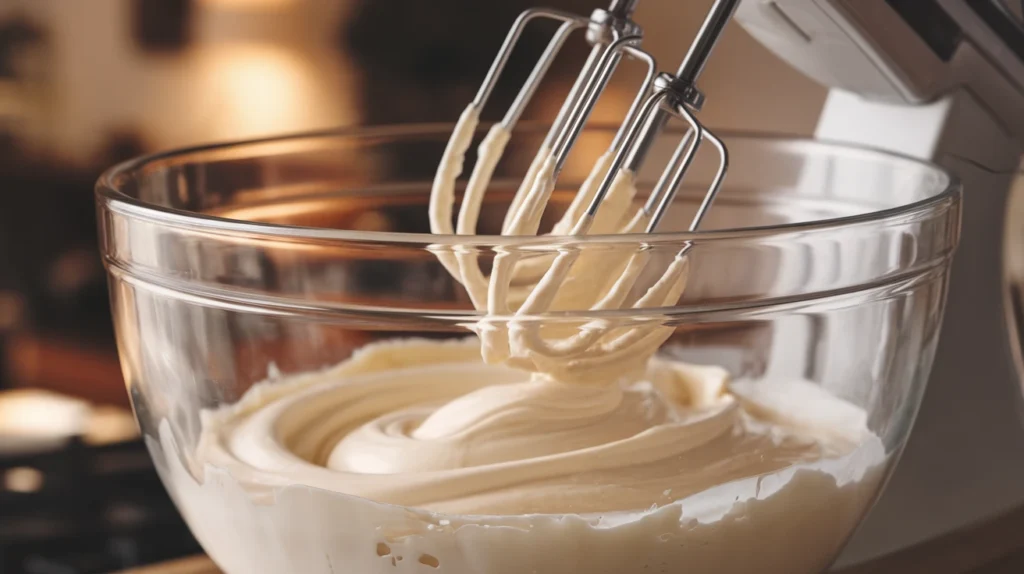
Creating the creamy filling for a cherry cheesecake is all about achieving a smooth, rich, and velvety texture. The key ingredient is softened cream cheese, which provides the base for the filling’s luxurious consistency. Start by beating the cream cheese and sugar together until they’re completely smooth and free of lumps. The sugar helps sweeten the mixture, while the cream cheese gives it that classic, tangy flavor. Add eggs one at a time, making sure to mix thoroughly after each addition to ensure a smooth batter. A touch of vanilla extract enhances the flavor, and sour cream adds extra richness and a slight tang, creating the perfect balance of creaminess. The result is a luscious, silky filling that bakes to a perfectly smooth texture, making each bite of cheesecake melt in your mouth.
Making The Cherry Topping For The Cheesecake
Making the cherry topping adds a vibrant color and sweetness to your cheesecake. Simply combine fresh or canned cherries with sugar and cornstarch in a saucepan. Cook over medium heat, stirring until the sauce thickens and the cherries soften. Once ready, let it cool and spread it over the chilled cheesecake for a sweet, fruity contrast to the creamy filling. Explore the full recipe and make your own easy cherry sauce today: Easy Cherry Sauce Recipe.
How to Get That Perfect Texture
Achieving the perfect texture for your cheesecake requires attention to detail at every stage of the process. Here are some essential baking tips to ensure your cherry cheesecake comes out smooth, creamy, and crack-free:
- Use Room Temperature Ingredients: Make sure your cream cheese, eggs, and sour cream are at room temperature before mixing. Cold ingredients can create lumps in the filling, resulting in an uneven texture. Softened cream cheese is especially important for a smooth batter.
- Don’t Overmix: When combining the ingredients for the filling, mix just until smooth. Overmixing can incorporate too much air, which may lead to cracks during baking. After adding the eggs, mix gently to avoid overworking the batter.
- Avoid Overbaking: The key to a creamy, smooth texture is not to overbake your cheesecake. A perfectly baked cheesecake should have a slightly jiggly center when you shake the pan, but the edges should be set. Overbaking causes the cheesecake to dry out and crack.
- Cool Gradually: Once the cheesecake is done baking, turn off the oven and leave the door ajar for an hour. This gradual cooling prevents temperature shocks, which can cause cracks in the surface. Afterward, allow the cheesecake to cool completely at room temperature before chilling it in the fridge.
- Chill Thoroughly: For the best texture, let your cheesecake chill for at least 4 hours, or preferably overnight. Chilling allows the cheesecake to firm up and set properly, creating that perfect creamy texture.
- Use a Water Bath (Optional): For an extra step in preventing cracks, consider baking your cheesecake in a water bath. Wrap your springform pan in aluminum foil to prevent water from leaking in, then place it in a larger pan filled with water. This method provides even heat distribution, resulting in a smoother, more uniform texture.
By following these tips, you’ll be well on your way to creating a cheesecake with the ideal creamy, smooth texture—no cracks or dryness!
How Long to Bake Cherry Cheesecake?
Baking a cherry cheesecake requires careful timing to ensure the perfect texture. Typically, you should bake your cheesecake for 55 to 60 minutes at 325°F (163°C). During this time, the cheesecake will set around the edges while remaining slightly jiggly in the center. This jiggle is a sign that the cheesecake is perfectly baked—firm around the edges but still creamy in the middle.
How to Decorate Your Cherry Cheesecake
Decorating your cherry cheesecake is the fun and creative part that elevates it from delicious to stunning. Here are a few simple ideas to give it a beautiful and tempting finish:
1. Top with Cherry Topping
The star of the show—your homemade cherry topping—is the perfect way to finish off the cheesecake. Spoon the cherry mixture generously over the chilled cheesecake, allowing it to cascade over the edges for a gorgeous, vibrant look. You can arrange the cherries in a circular pattern for a neat, polished look or scatter them randomly for a more natural feel.
2. Add Fresh Fruit Garnishes
If you want to add even more freshness to your cherry cheesecake, consider garnishing with fresh cherries, strawberries, or blueberries around the edges or scattered on top. This not only adds texture but also enhances the visual appeal with pops of color.
3. Whipped Cream Peaks
Lightly whipped cream adds a soft, airy texture that contrasts nicely with the dense cheesecake. Pipe small peaks of whipped cream around the edge or in the center of the cheesecake. You can use a pastry bag fitted with a star tip for a more decorative touch.
4. Chocolate Shavings or Drizzle
For a decadent twist, garnish your cherry cheesecake with chocolate shavings or drizzle melted chocolate over the top. Dark or white chocolate complements the tangy cheesecake and sweet cherries beautifully, adding both visual appeal and an extra layer of flavor.
Serving Suggestions for Cherry Cheesecake
Cherry cheesecake is a fantastic standalone dessert, but it pairs beautifully with a cup of coffee or a glass of dessert wine. If you’re hosting a party, slice the cheesecake into small wedges and serve with a side of fresh fruit for a light and refreshing touch.
How to Store Cherry Cheesecake
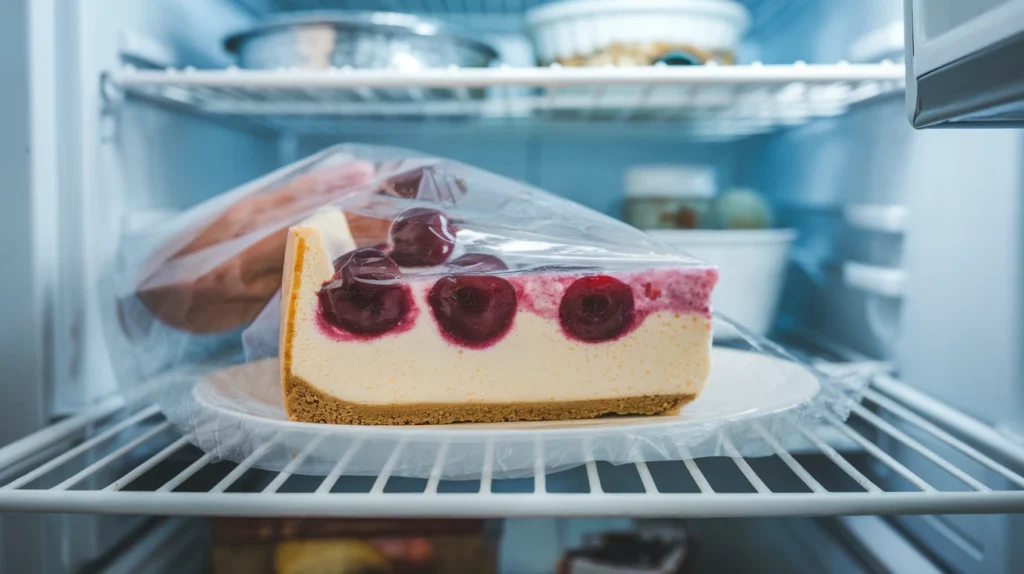
If you have leftovers (which is rare!), store your cherry cheesecake in the fridge. Cover it tightly with plastic wrap or aluminum foil to prevent it from drying out. It should stay fresh for up to 5 days, though it’s best enjoyed within the first few days.
Cherry Cheesecake Frequently Asked Questions (FAQs)
1. What are the three types of cheesecake?
The three most popular types of cheesecake are:
- New York Cheesecake: This classic style is made with a creamy filling of cream cheese, eggs, sugar, and sour cream, resulting in a rich and dense texture. It often has a thick graham cracker crust and is typically baked in a water bath to prevent cracking.
- Chicago-Style Cheesecake: Known for its rich, buttery flavor, this style uses a combination of cream cheese and heavy cream for a lighter, fluffier filling. It is often served in a deep-dish style with a thick, biscuit-like crust.
- No-Bake Cheesecake: This type of cheesecake does not require baking. Instead, it uses ingredients like cream cheese, whipped cream, and gelatin to create a light, airy texture. The crust is typically made from graham crackers or cookies and is set in the fridge.
2. Is cherry cheesecake indica or sativa?
It is a dessert, not a strain of cannabis, so it doesn’t belong to either indica or sativa categories. However, if you’re referring to a cannabis-infused cherry cheesecake, the effects would depend on the strain of cannabis used in the recipe. Indica strains tend to have calming, relaxing effects, while sativa strains are more energizing. It’s important to note that infusing a cheesecake with cannabis would involve careful dosing and preparation to ensure a safe and enjoyable experience.
3. What’s the difference between New York cheesecake and regular cheesecake?
The main difference between New York cheesecake and a regular cheesecake lies in the ingredients and texture:
- New York Cheesecake: Made with a higher proportion of cream cheese, New York cheesecake is denser, creamier, and richer in flavor. It often includes sour cream or heavy cream, which contributes to its smooth texture and tangy taste.
- Regular Cheesecake: This can refer to any cheesecake recipe, but it’s typically lighter than New York cheesecake. The filling might include a combination of cream cheese, ricotta cheese, or mascarpone cheese, and it might not be as dense. Regular cheesecake recipes vary widely, including variations like no-bake or flavored cheesecakes.
4. What does adding an extra egg to cherry cheesecake do?
Adding an extra egg to cheesecake can affect the texture and consistency of the filling. Generally:
- More Eggs: Adds extra structure to the cheesecake, making it firmer. This is especially helpful in baked cherry cheesecakes, where you want a smooth, set filling. However, too many eggs can make the texture too dense or rubbery.
- Fewer Eggs: Results in a lighter, creamier texture, but if the cheesecake lacks enough eggs, it may not set properly and could be too soft.
Adding just the right number of eggs helps achieve the perfect creamy yet firm texture, which is why most recipes call for 3 eggs, but adding an extra one can adjust the firmness based on your preferences.
Conclusion:
Making a Cherry Cheesecake doesn’t have to be complicated. With just a few simple ingredients and a little time, you can create a rich, creamy, and utterly delicious dessert. Whether it’s for a special occasion or a casual family dinner, this cheesecake will always be a crowd-pleaser. So go ahead, give it a try, and indulge in this delightful treat!
4 thoughts on “Cherry Cheesecake Recipe: A Deliciously Simple Treat”